GitHub Pages
Toucan-based websites can be hosted for free using GitHub Pages. Follow these steps to set up your site.
Creating a Repository
To host a Toucan-generated website on GitHub Pages, begin by creating a new repository or selecting an existing one. If you are working within an existing repository, proceed directly to the Deploying with GitHub Pages guide.
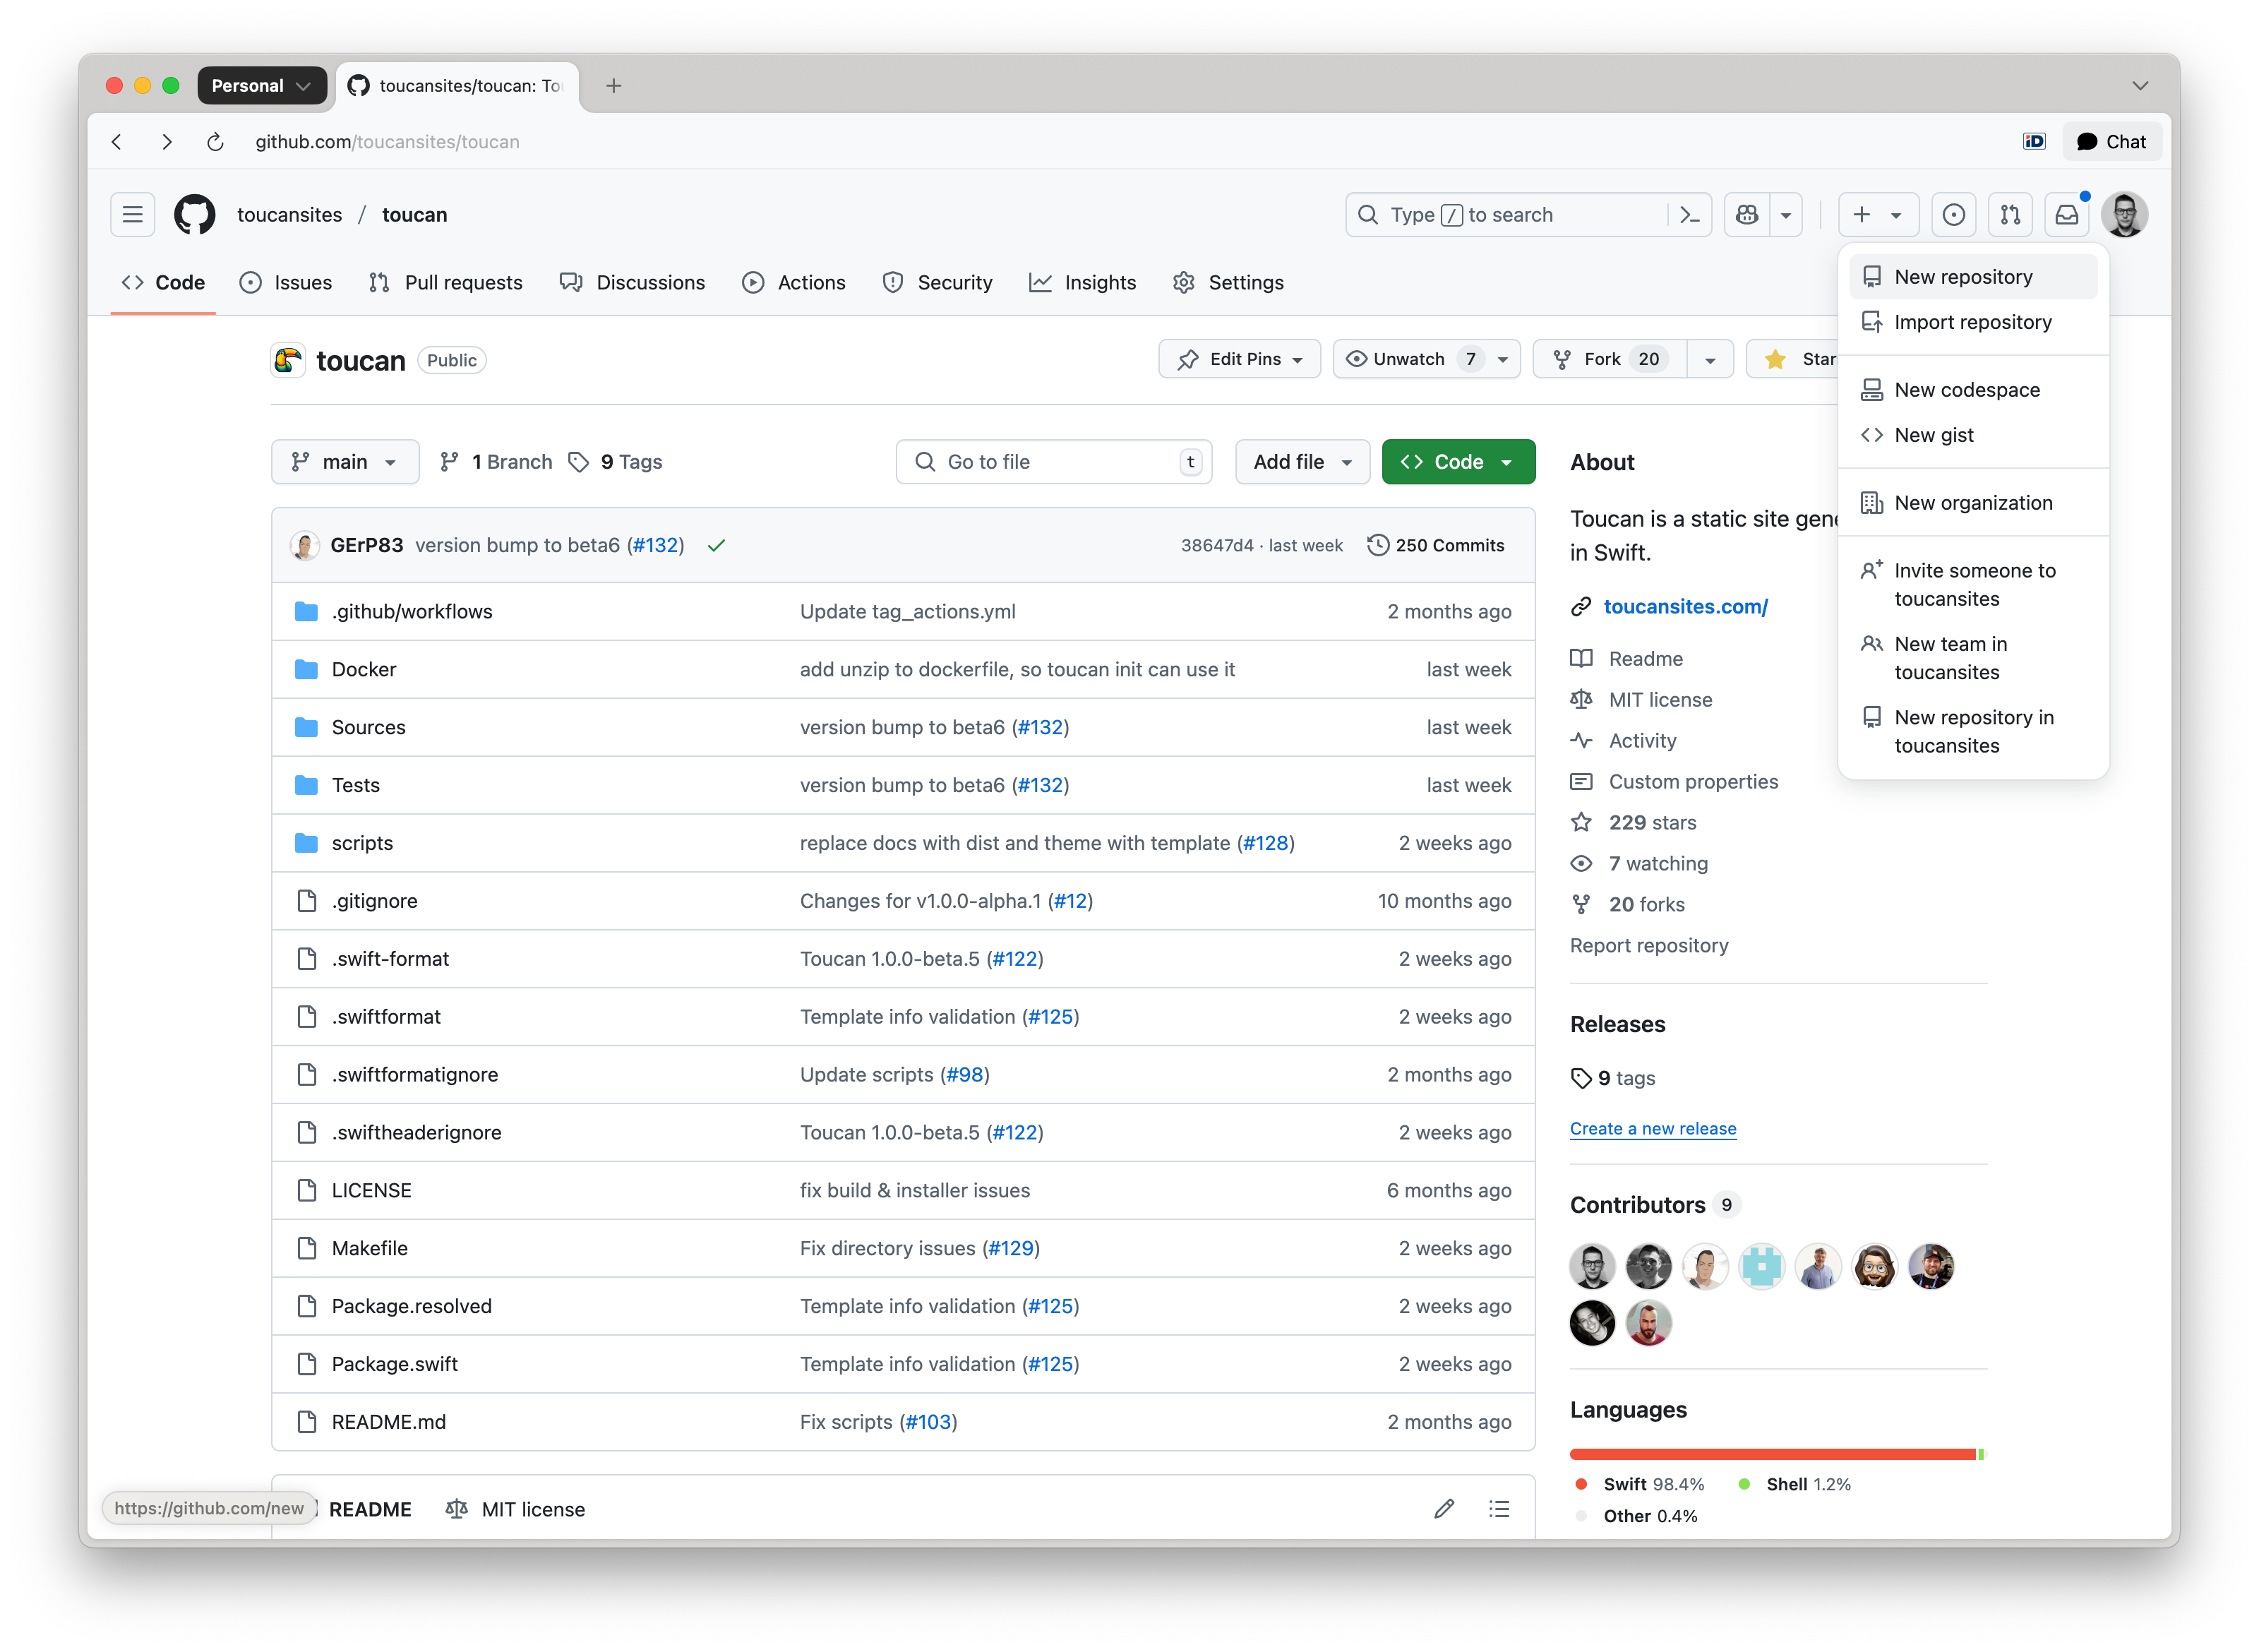
Navigate to the upper-right corner of any GitHub page. Click the + icon, then select New repository:
The GitHub Pages URL of your website is going to be (without using a custom domain):
https://owner.github.io/repository-name/.
From the Owner dropdown, select the user or organization account that will own the repository. Enter a custom name for the repository:
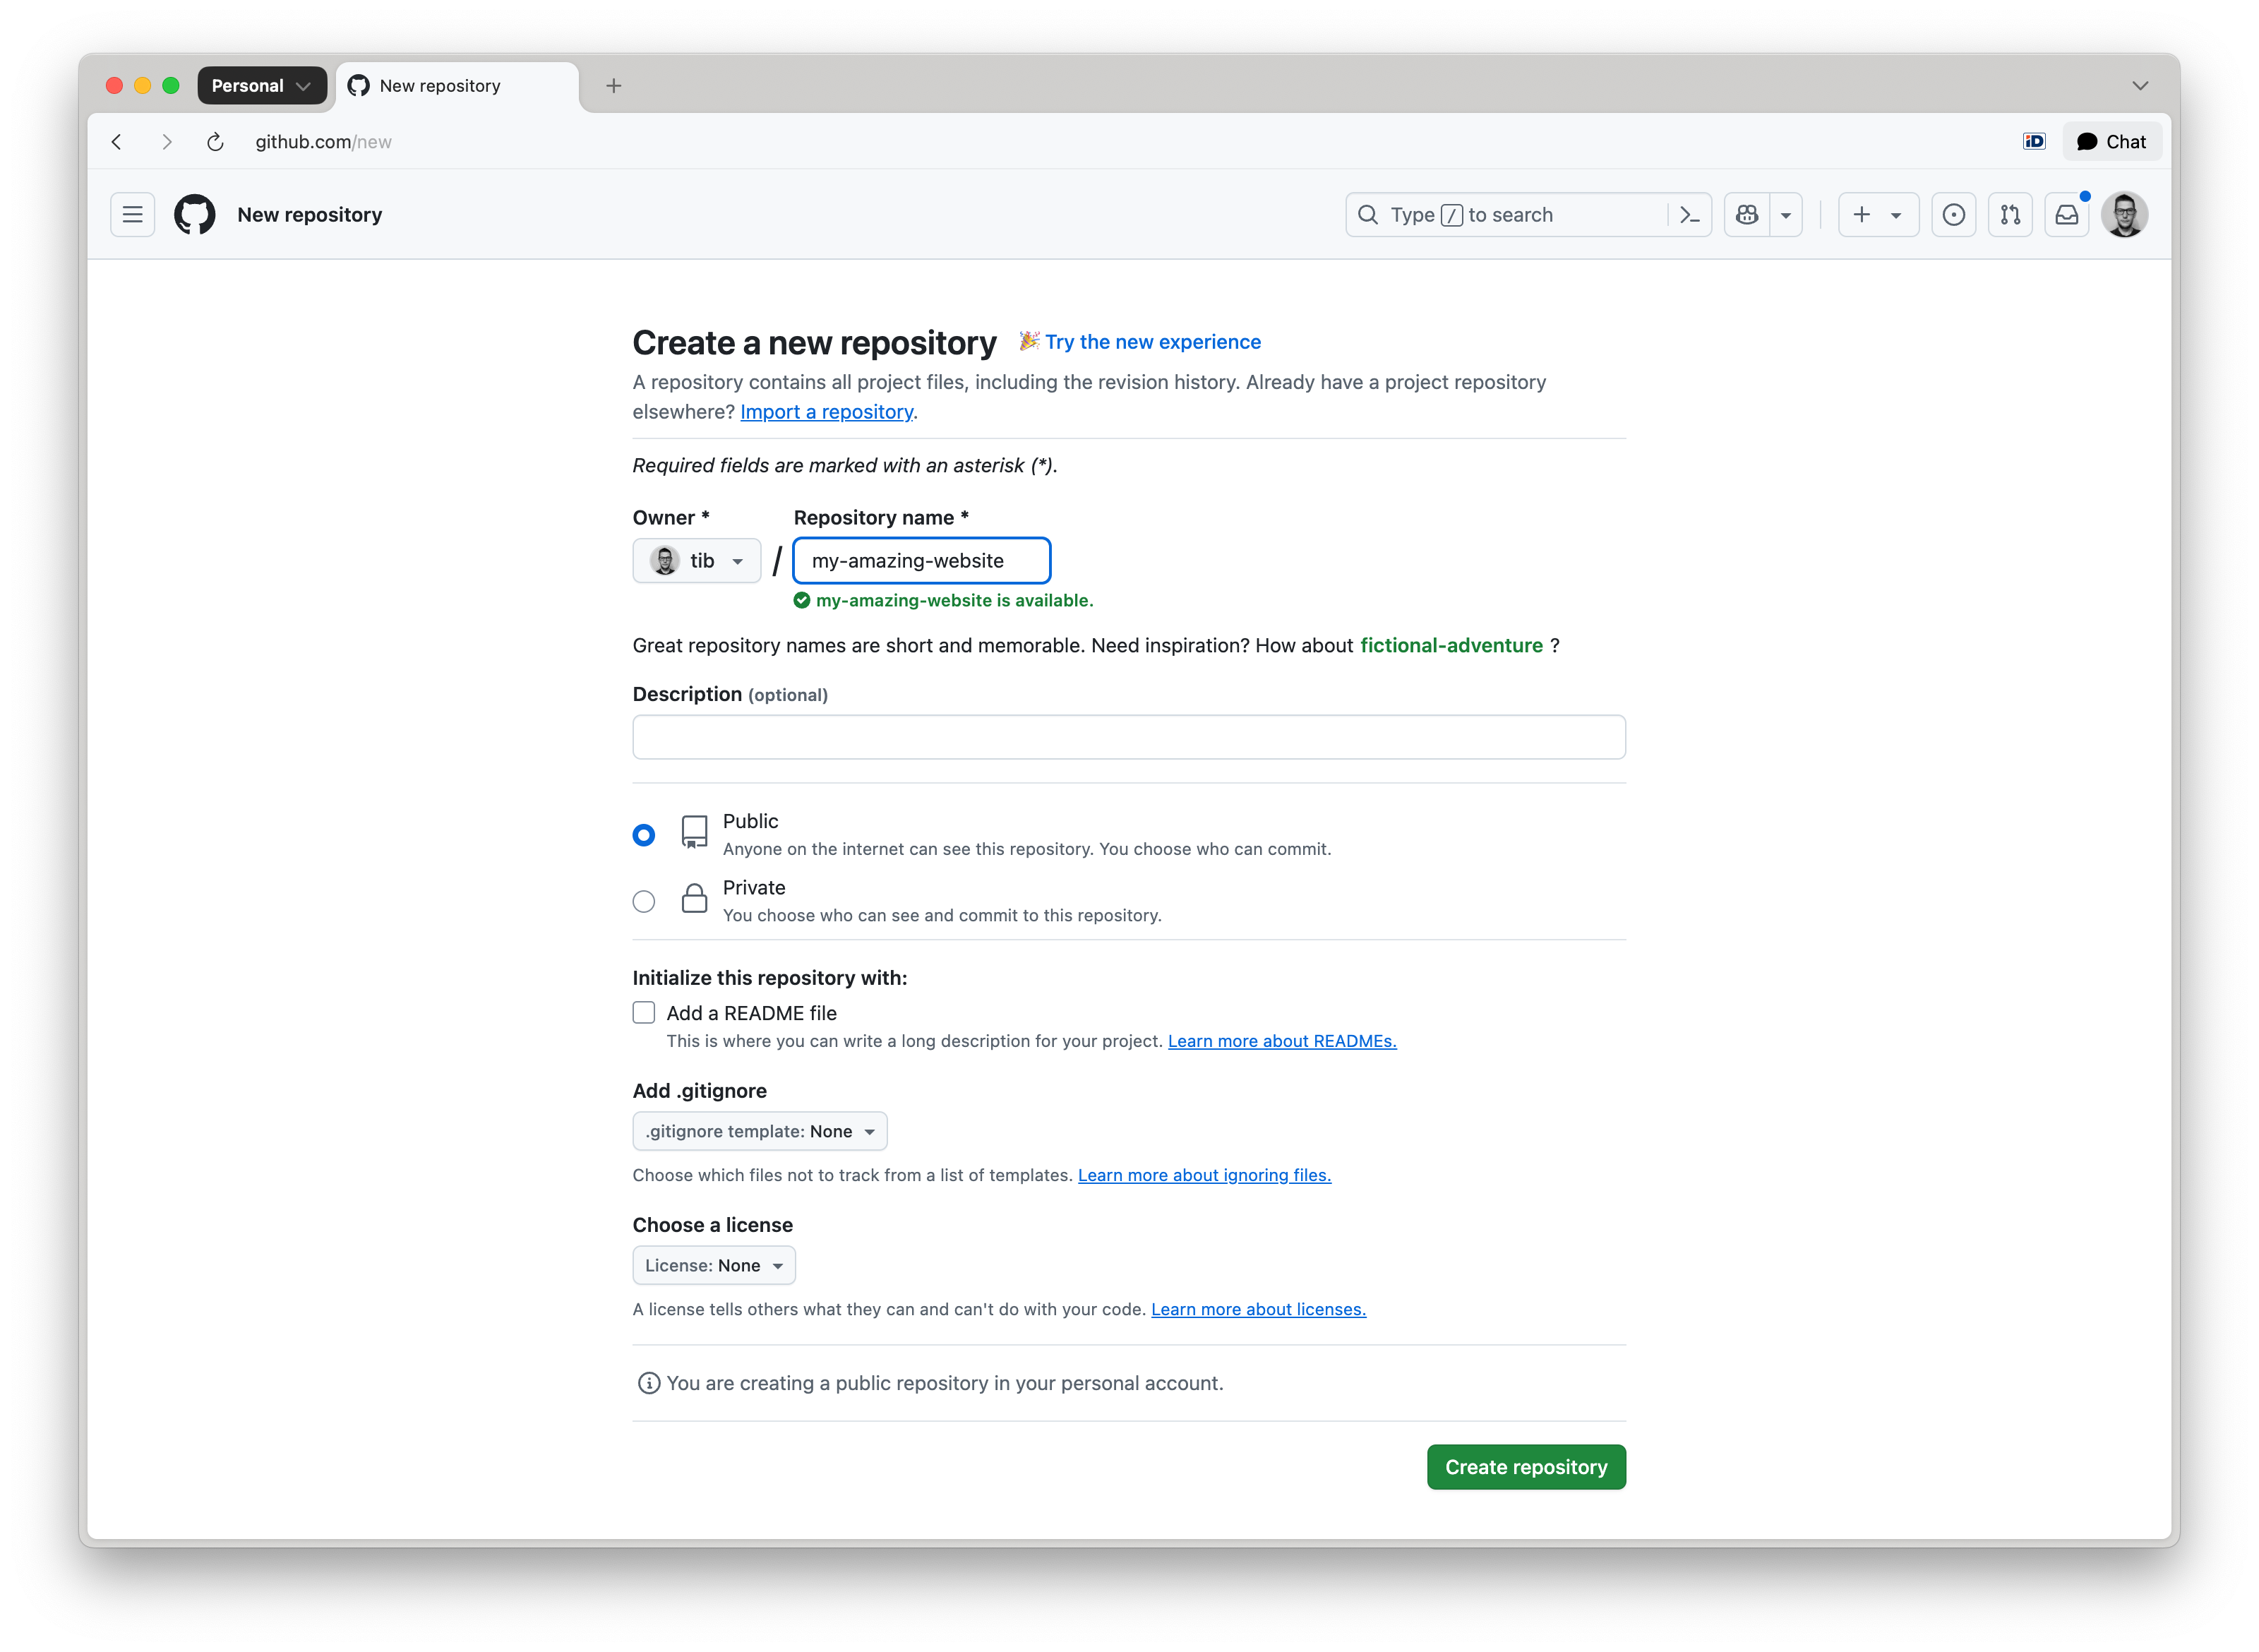
Set the repository visibility to Public. Refer to About repositories for details.
GitHub requires public visibility for Pages sites hosted under Free or Free for Organizations plans.
Click Create repository to complete setup.
Adding Content to Your Repository
Once your repository is set up, commit the necessary files.
Clone the repository to your local machine:
git clone https://github.com/owner/repository-name.git
Copy your website’s source files into the repository, or use the repository to create a new site directly.
Add, commit and push the source files to the repository, use the main branch:
git add .
git commit -m "Add site source"
git push origin main
After you’ve pushed the content files and folders should appear on the GitHub repository. Now you are ready to deploy your website using GitHub Actions.
Deploy using GitHub Actions
After pushing your content to GitHub, configure GitHub Pages to publish your website using one of the supported deployment methods.
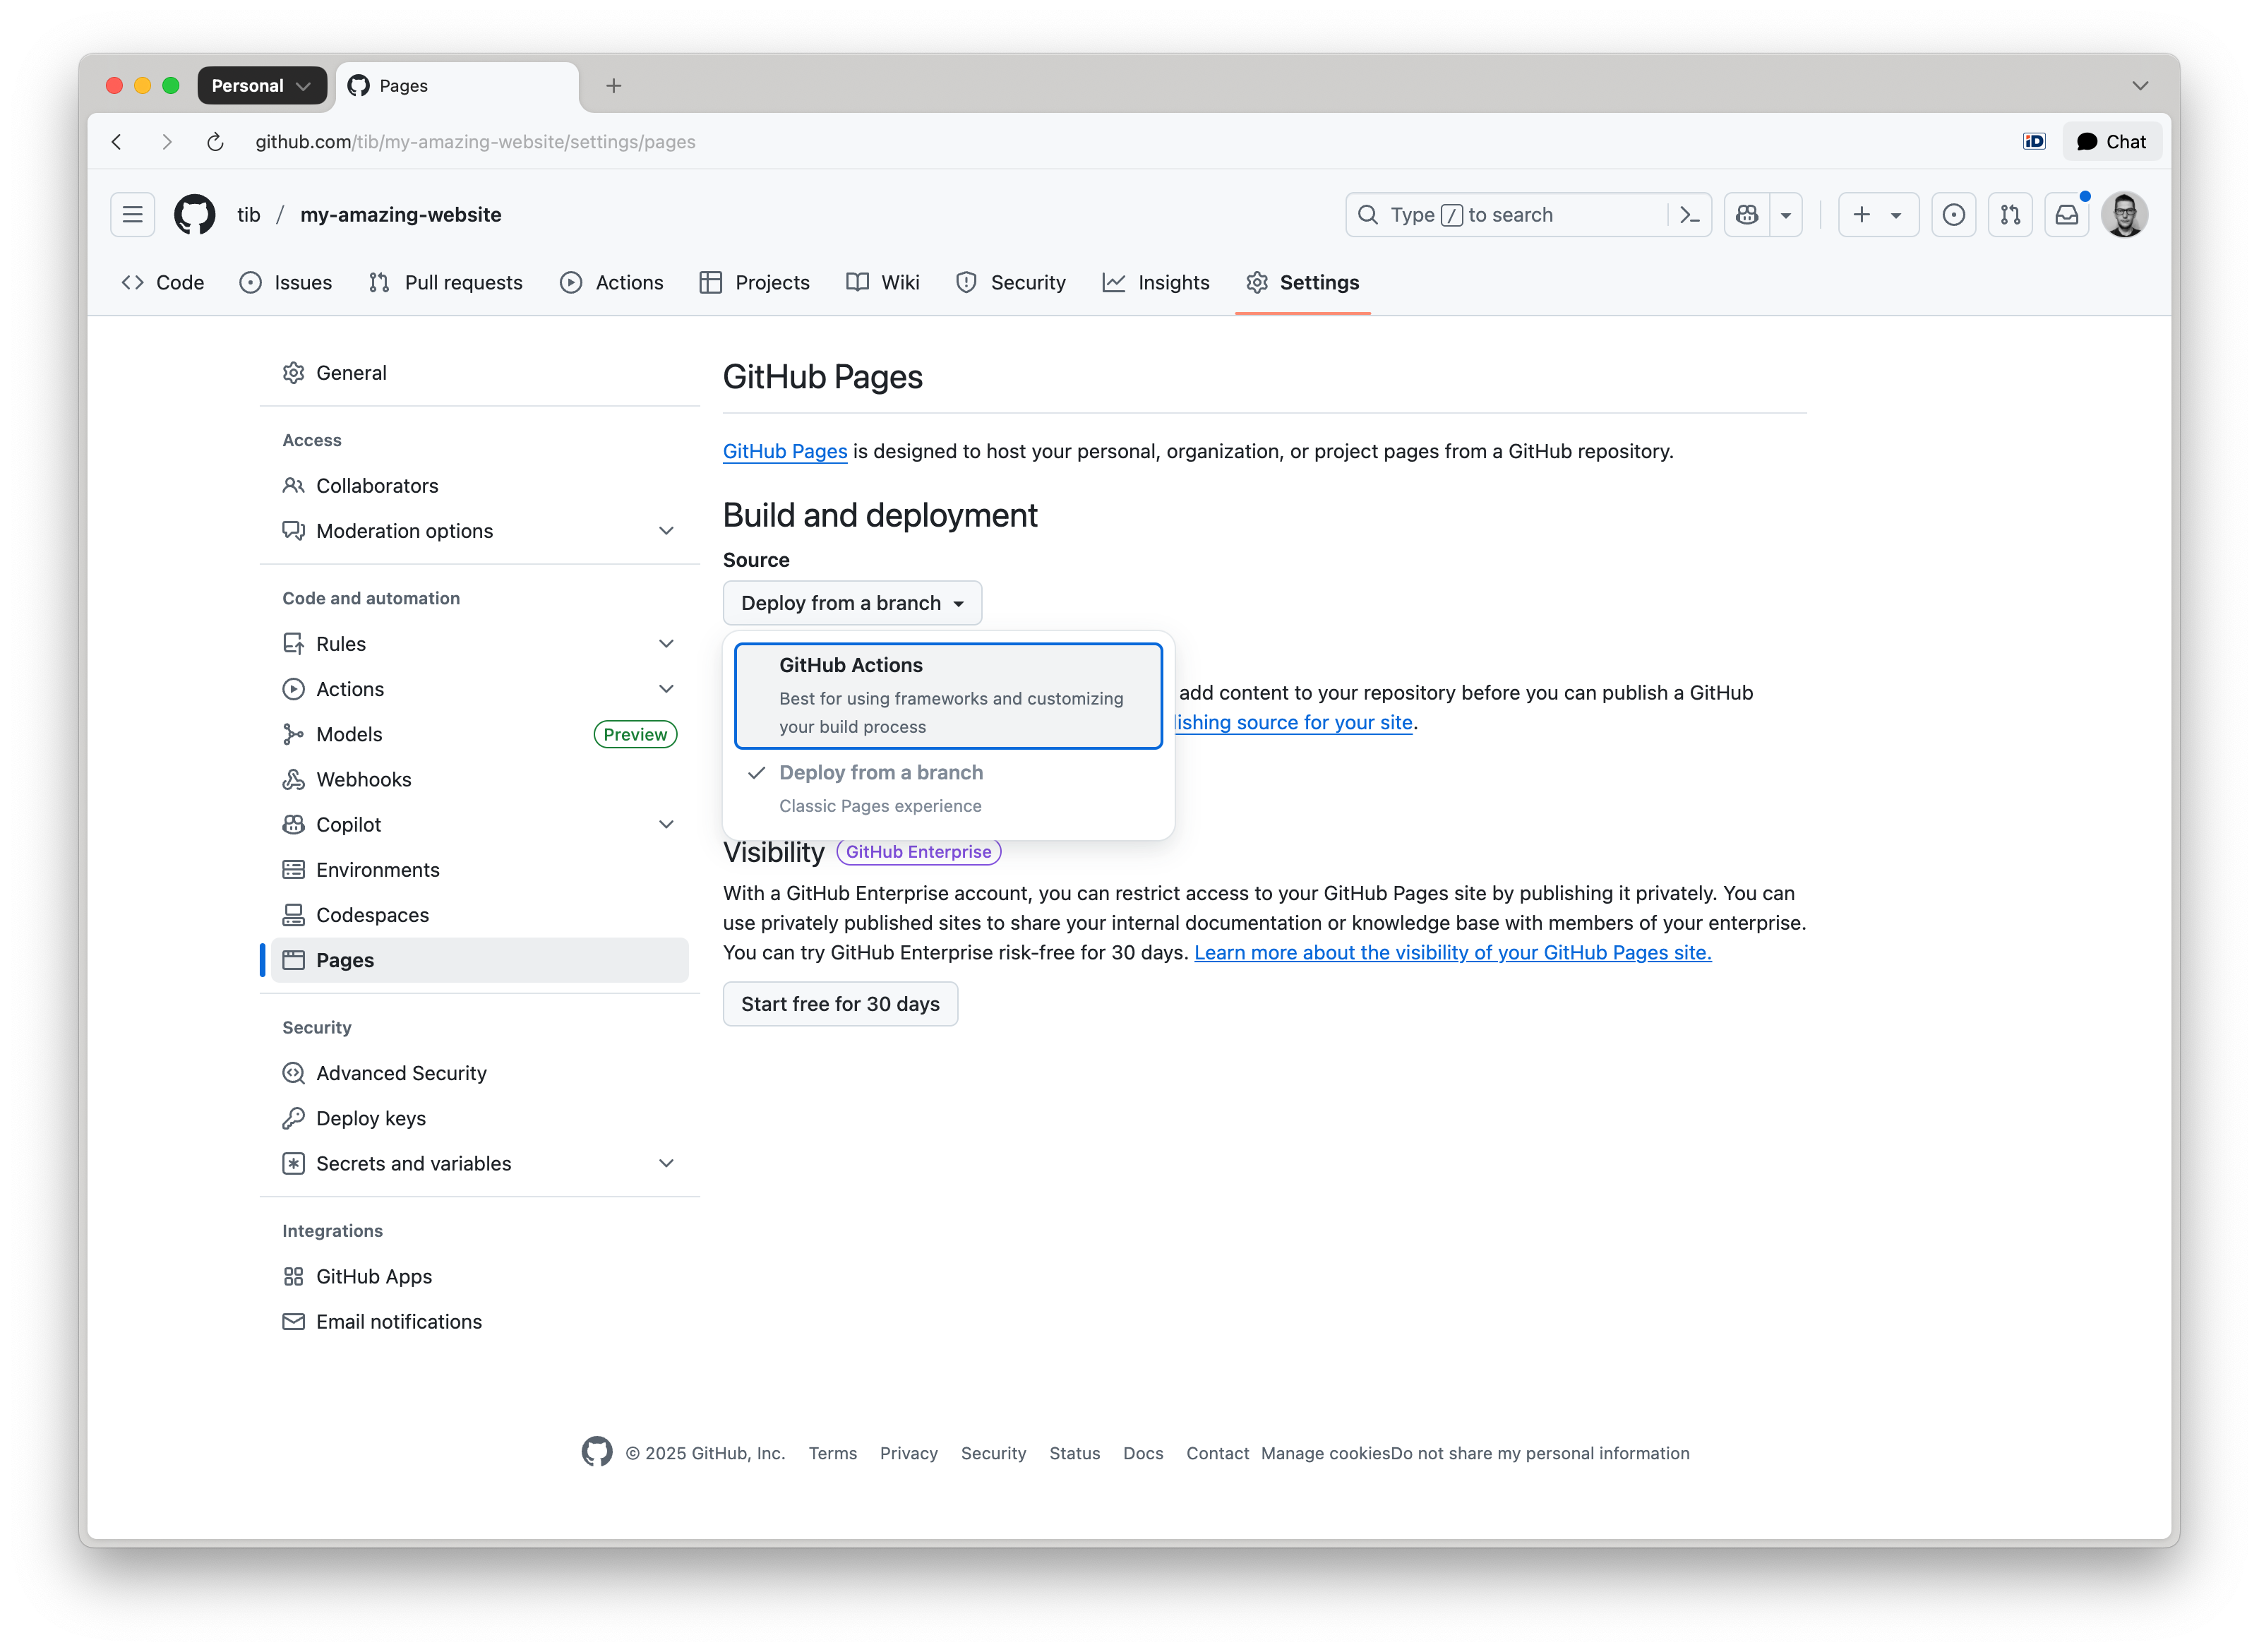
Navigate to your repository on GitHub. In the top menu, go to Settings → Pages under the Build and deployment section.
Choose how you want GitHub Pages to deploy your site, select the GitHub Actions option:
Verify that .github/workflows/deploy.yml exists in the repository. If your repository does not include the deploy.yml file, you can find an example at: toucansites/github-workflows:
name: Build and Deploy with Toucan

on:
  push:
    tags:
        - 'v*'
        - '[0-9]*'
    branches:
        - main

jobs:
  build-with-toucan:
    uses: toucansites/github-workflows/.github/workflows/deploy.yml@main
    permissions:
      contents: read
      pages: write
      id-token: write
    with:
      #version: "1.0.0-beta.6"
      target: "github-deploy"
Add, commit and push this file to your to your repository.
When deploying with GitHub Actions, the workflow will automatically select either:
- the
defaulttarget defined in your toucan.yml file, or - the explicit target specified in the
GitHub Actions workflowtrigger.
Ensure that your toucan.yml is correctly configured and that the appropriate target is used when initiating a deployment:
targets:
    - name: dev
      default: true

    - name: "github-deploy"
      output: "/tmp/output"
      url: "https://owner.github.io/repository-name/"
By default the GitHub pages has a protection rule, that only allows deployments from the main branch. If you are planning to deploy after you publish a release or tag the repository, you have to change this protection rule.
Navigate to the repository Settings click on the Environments menu item:
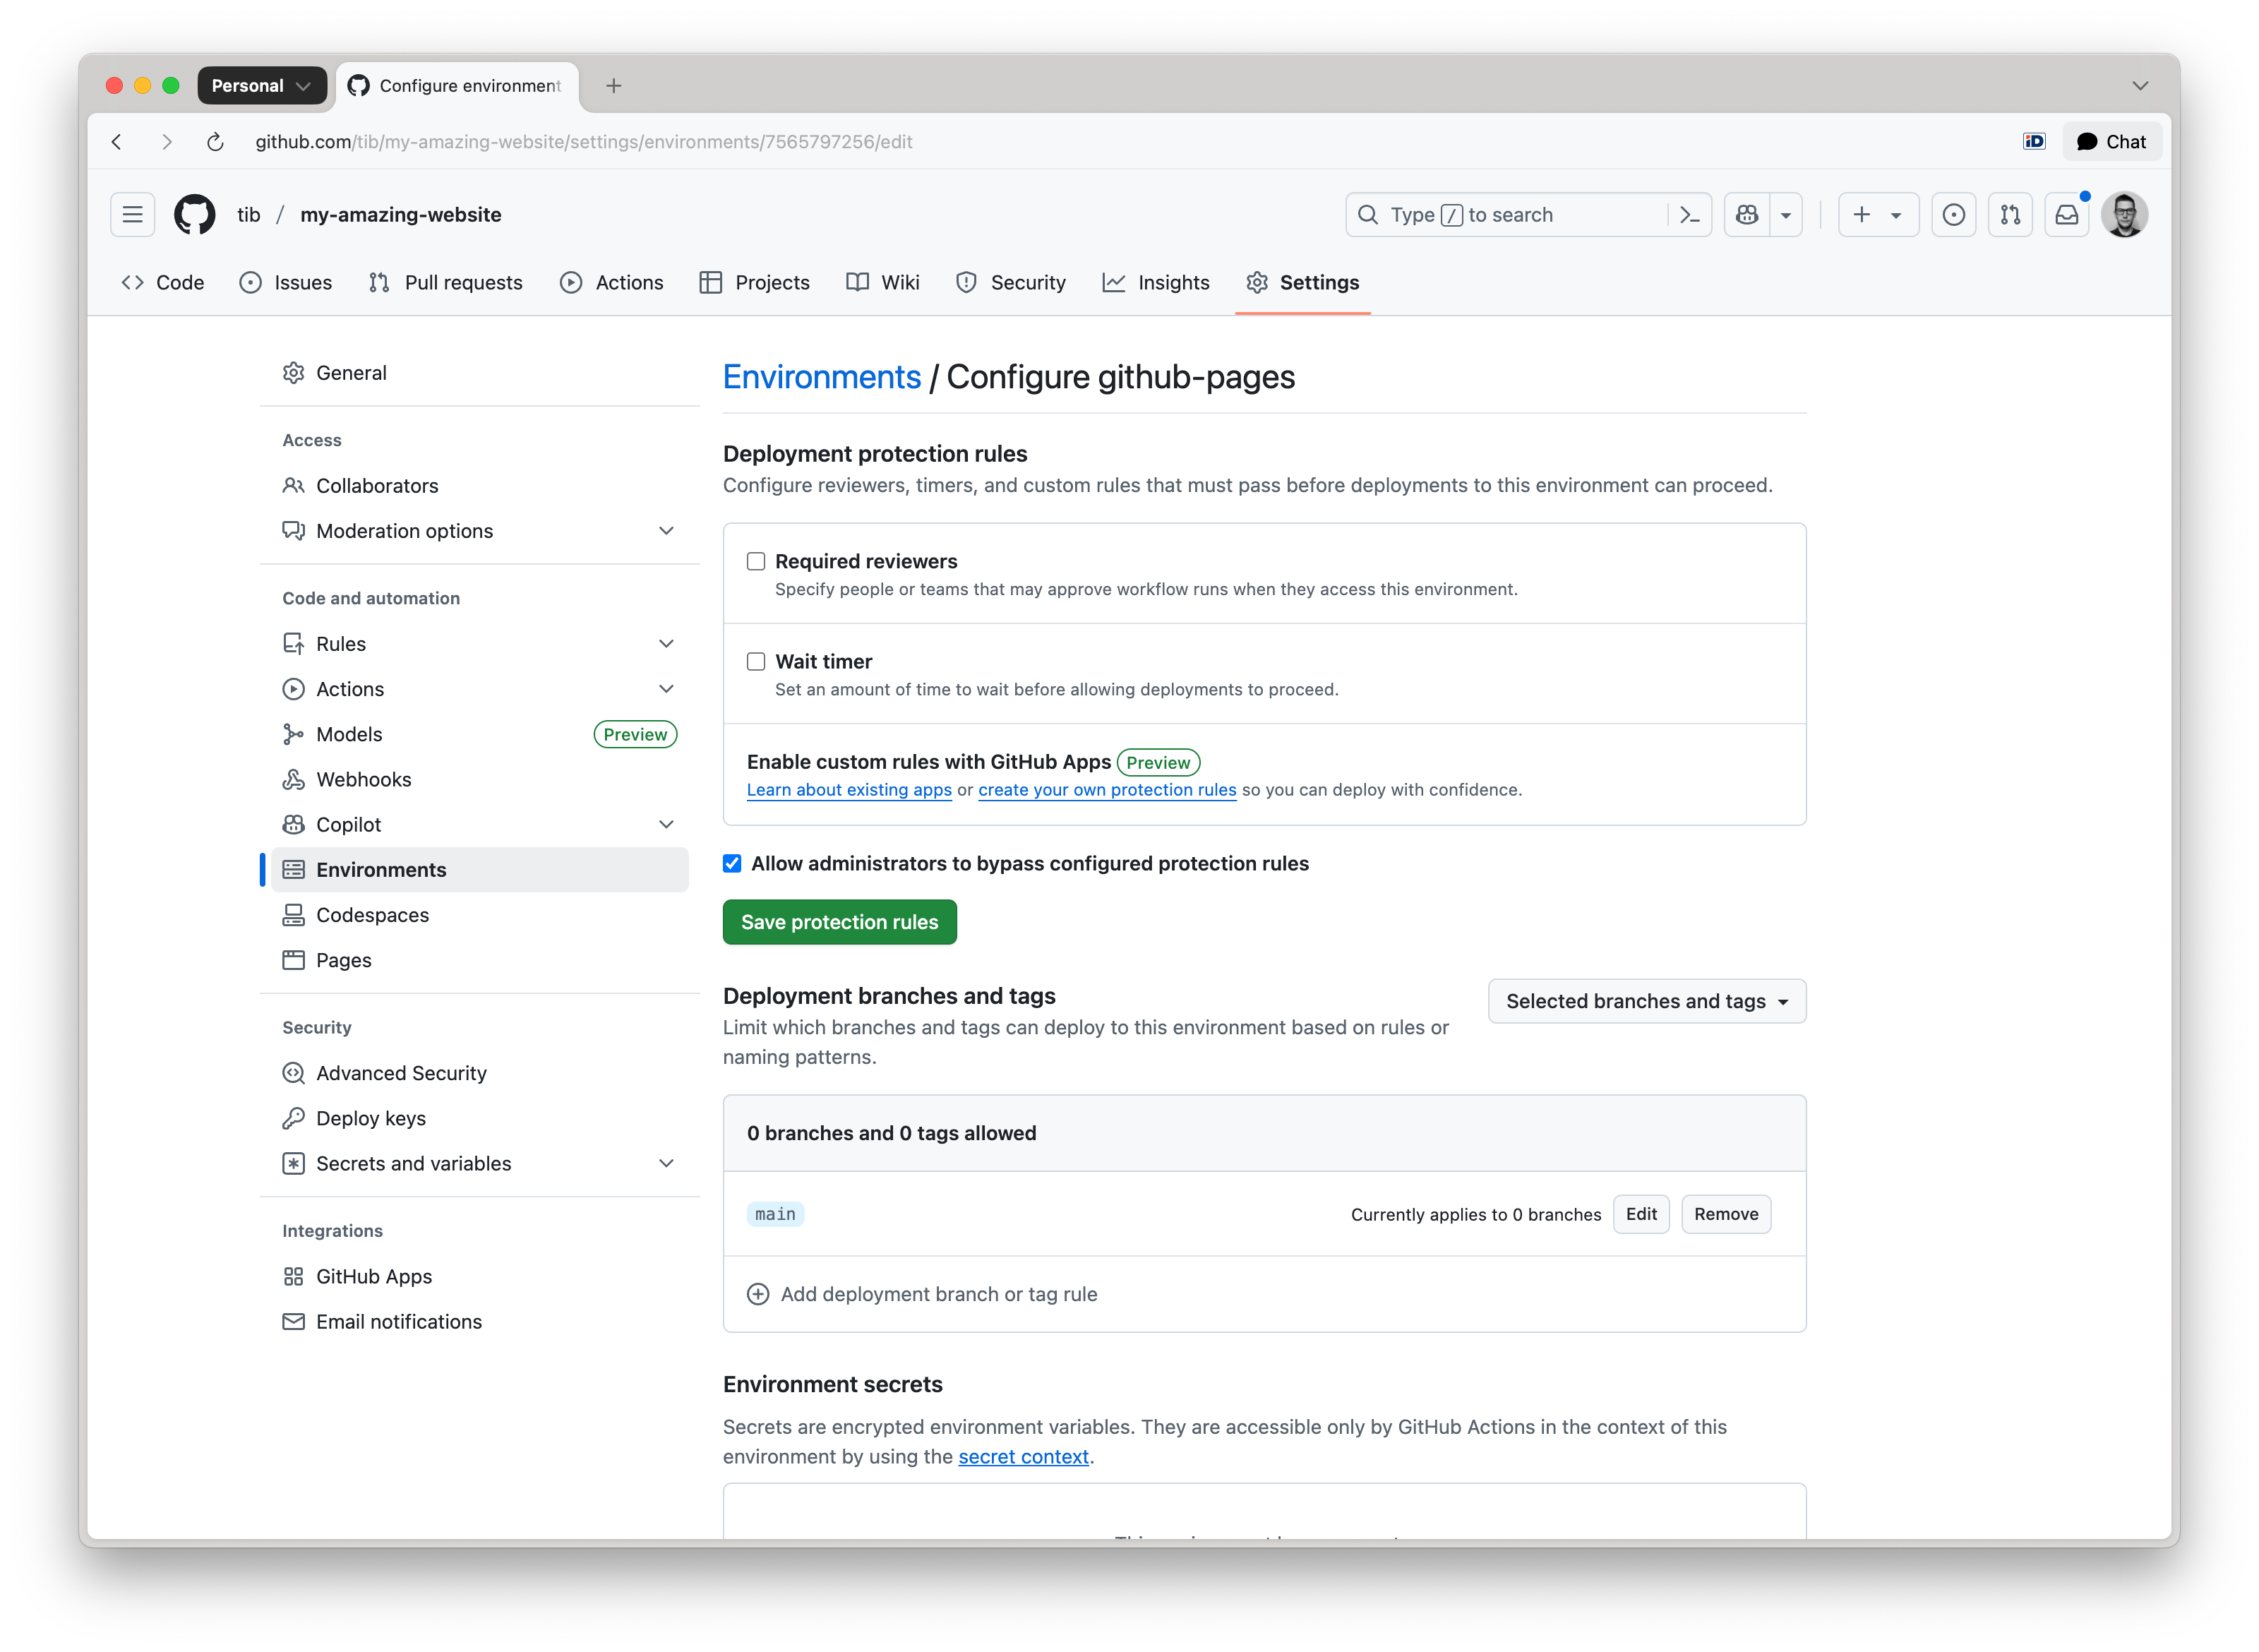
Click on github-pages, under the Deployment branches and tags section, select Add deployment branch or tag rule and set the Ref type to Tag:
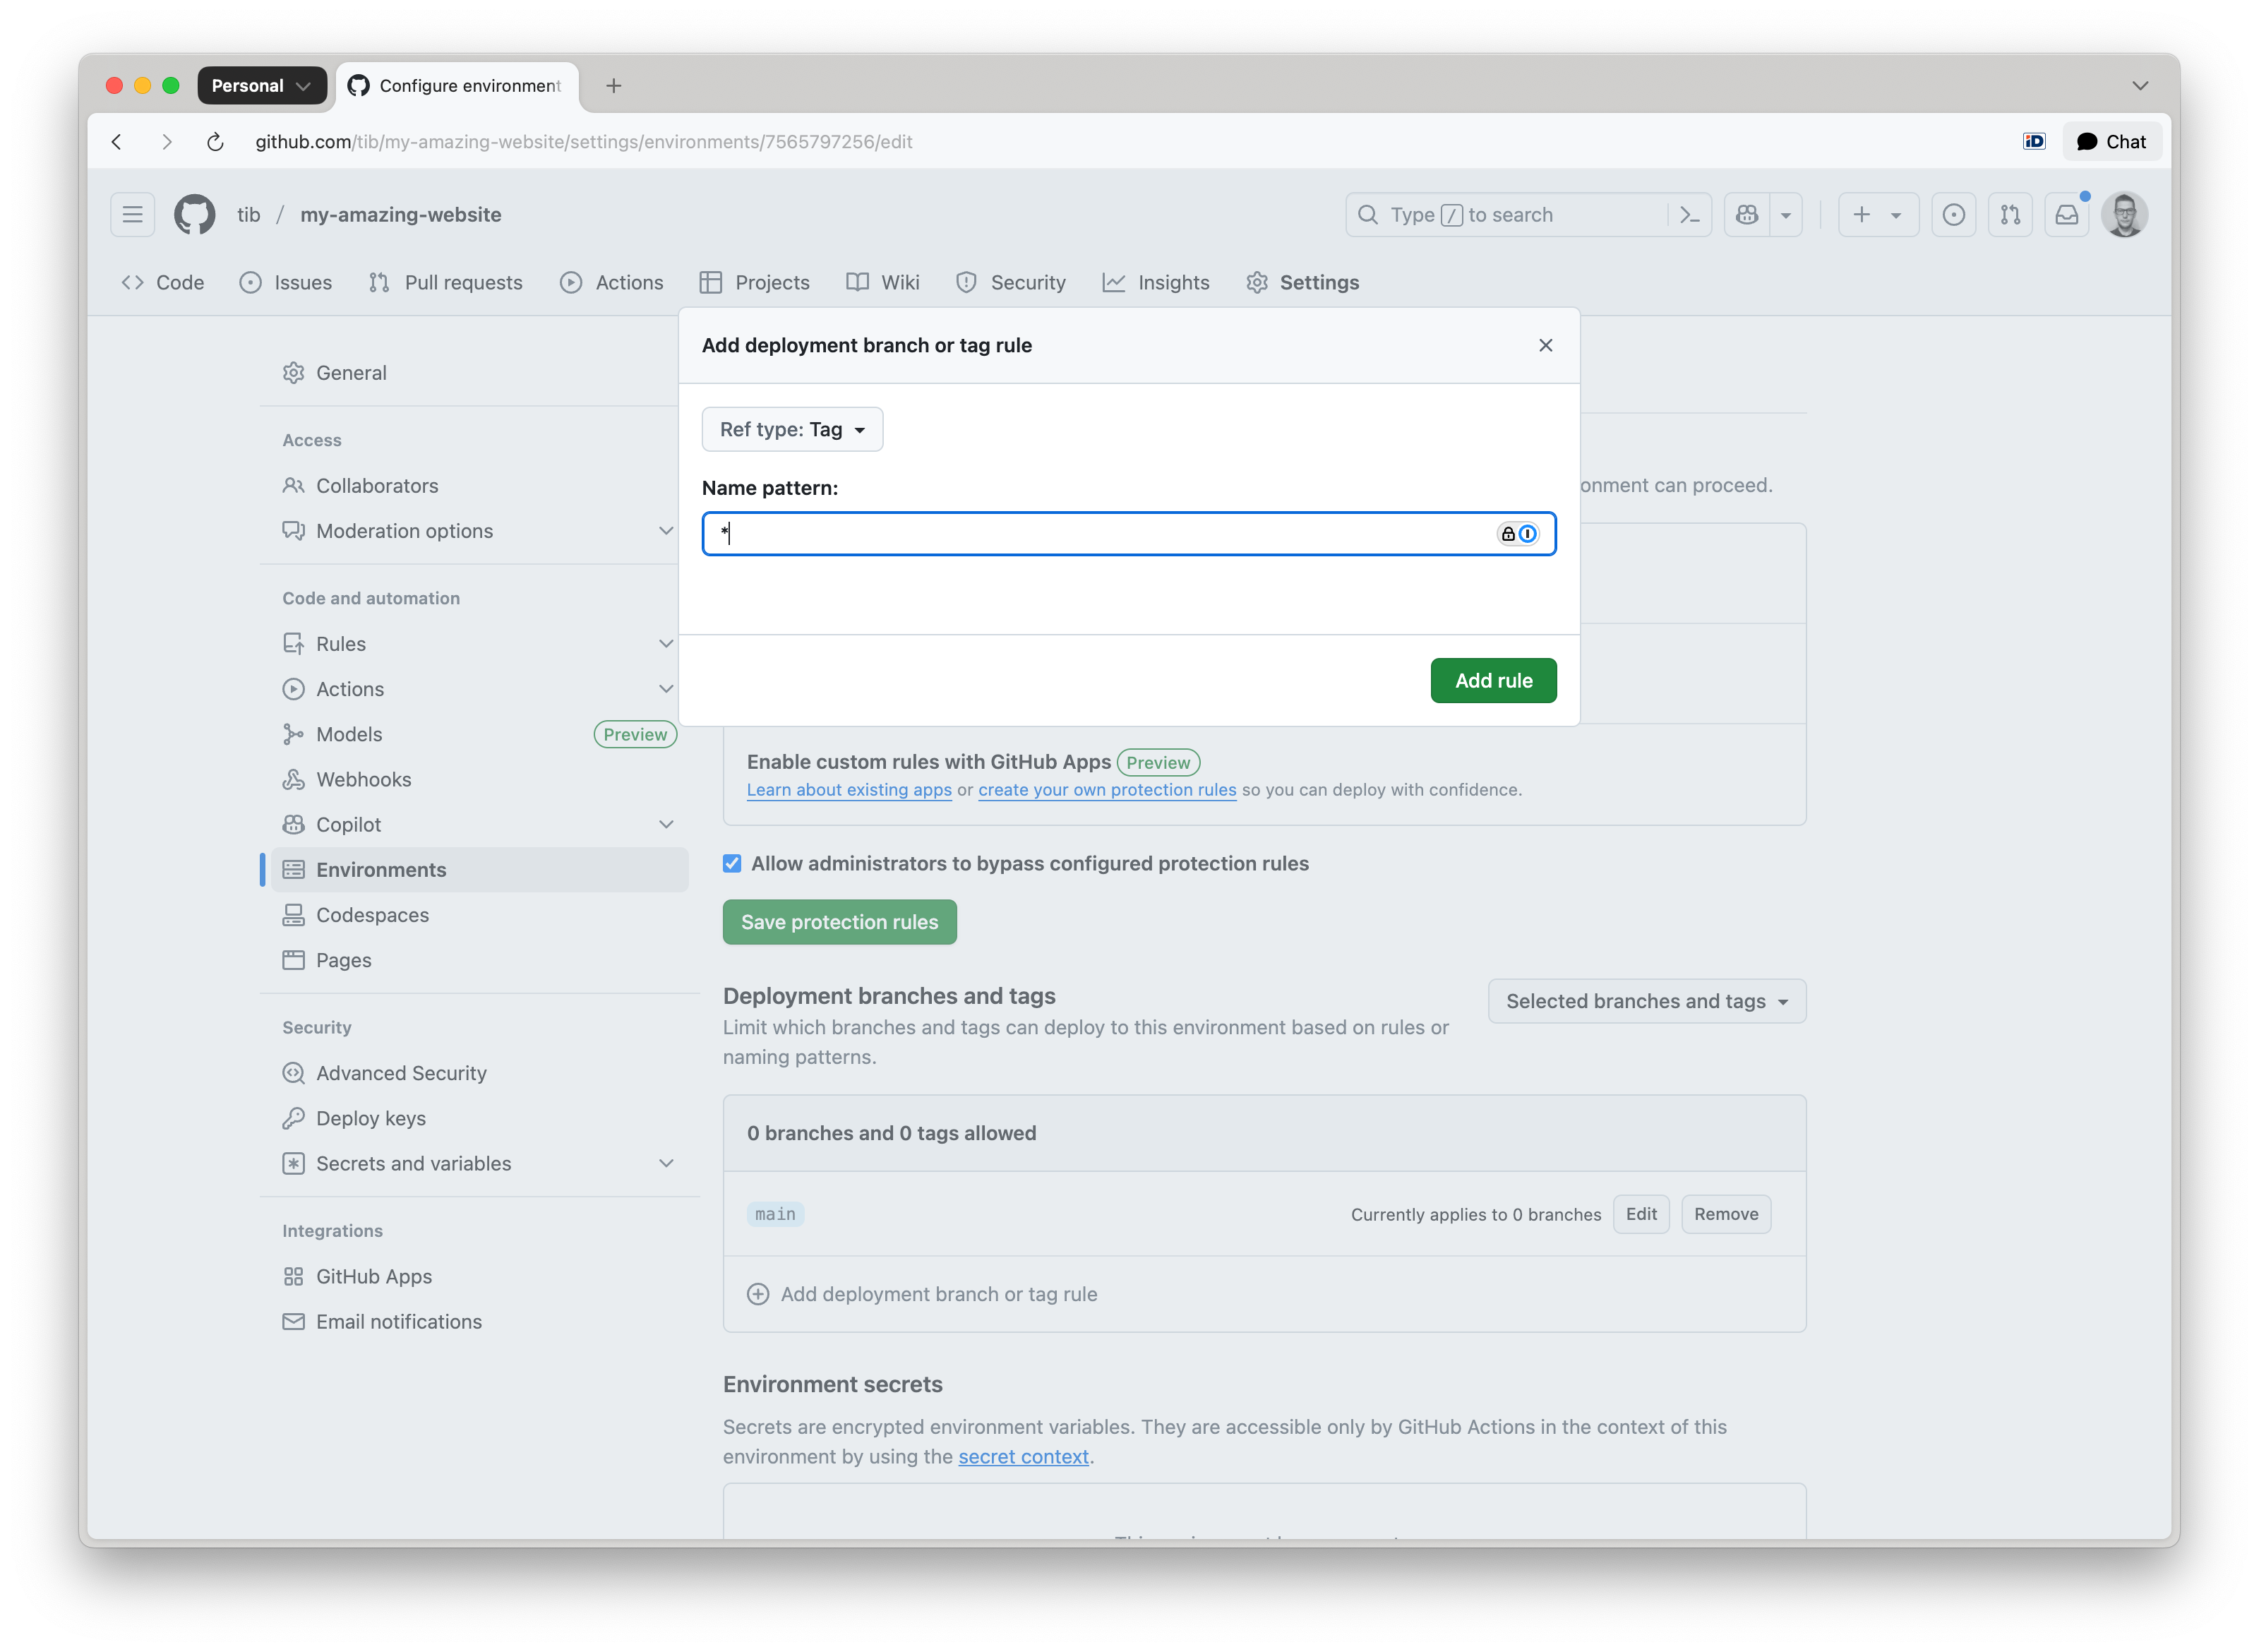
Enter a name pattern such as:
*— to allow all tags*/*— to support namespaced tags likerelease/v1.0.0v*-b*- to support beta releases, likev1.0.0-beta.1
Click Add rule to confirm the configuration.
If the environment is not properly configured, deployments will be blocked with an error such as: Tag
1.0.0-beta.2is not allowed to deploy to github-pages due to environment protection rules.
To trigger the GitHub Actions deployment workflow, create a new release or add a tag to your repository.
Using a Custom Domain
You can configure your GitHub Pages site to be served from a custom domain, such as example.com, instead of the default GitHub URL.
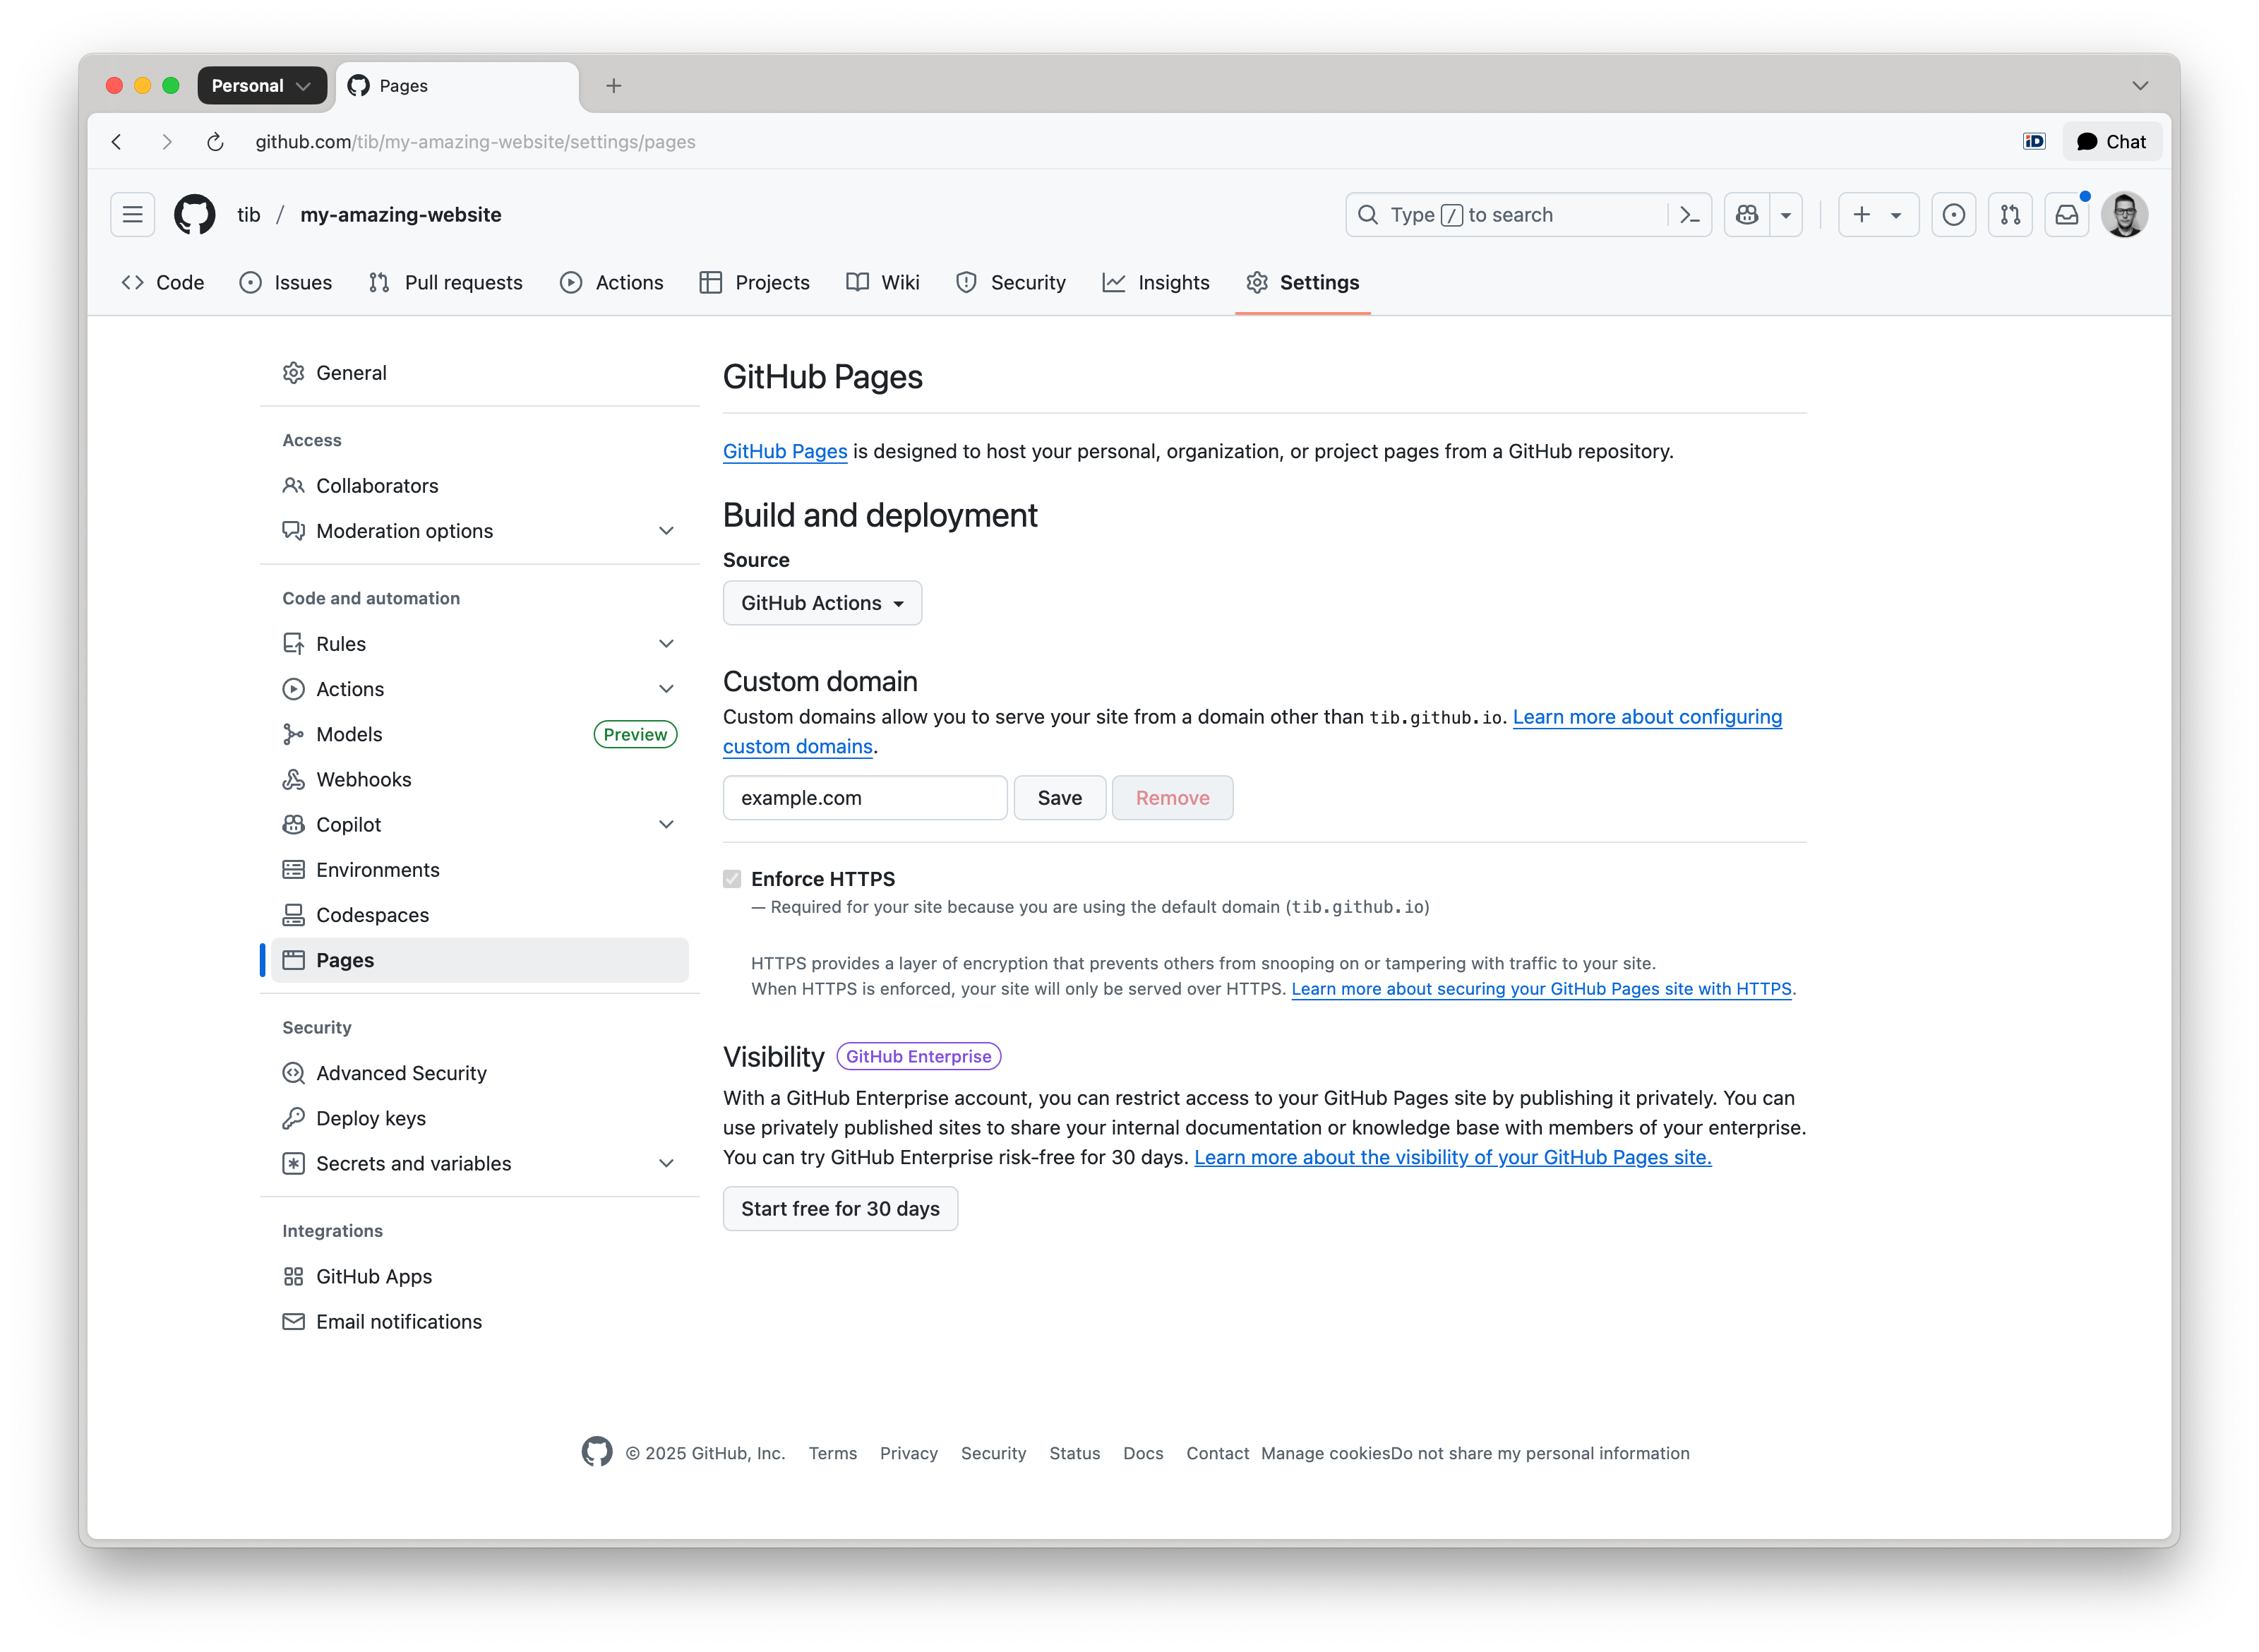
Navigate to your repository on GitHub. Go to Settings → Pages.
Under the Custom domain section, enter your domain name and click Save:
Make sure a CNAME file is in the deployed directory (usually dist/) when you deploy your site. To do this, create a CNAME file in the top-level assets directory with the following content:
example.com
Toucan will automatically move this CNAME file to the dist folder when your site is generated.
DNS Configuration
For Apex Domains (example.com), create the following A records in your DNS provider’s configuration:
185.199.108.153
185.199.109.153
185.199.110.153
185.199.111.153
For Subdomains (www.example.com), create a CNAME record pointing to your GitHub Pages URL:
owner.github.io
Replace owner with your actual GitHub repository owner name.
Enforce HTTPS
After DNS propagation is complete (which can take anywhere from a few minutes to 24 hours):
- Return to Settings → Pages in your GitHub repository.
- Enable the Enforce HTTPS checkbox to ensure secure access to your site.